How to Pack Mugs for Moving
During your relocation, you will learn how to pack a lot of things and you will soon become like a pro. If you are like most people who have a favorite coffee mug and a favorite tea mug, learning how to pack mugs for moving will be a pleasure and not just a necessity. Keeping these items intact during your relocation is vital as you want to get back to your old morning and evening routine as soon as possible. It is a common misconception that mugs are sturdy and durable. Quite the contrary, they can break easily if not packed properly. Let us see how to pack mugs for moving in the best possible way.
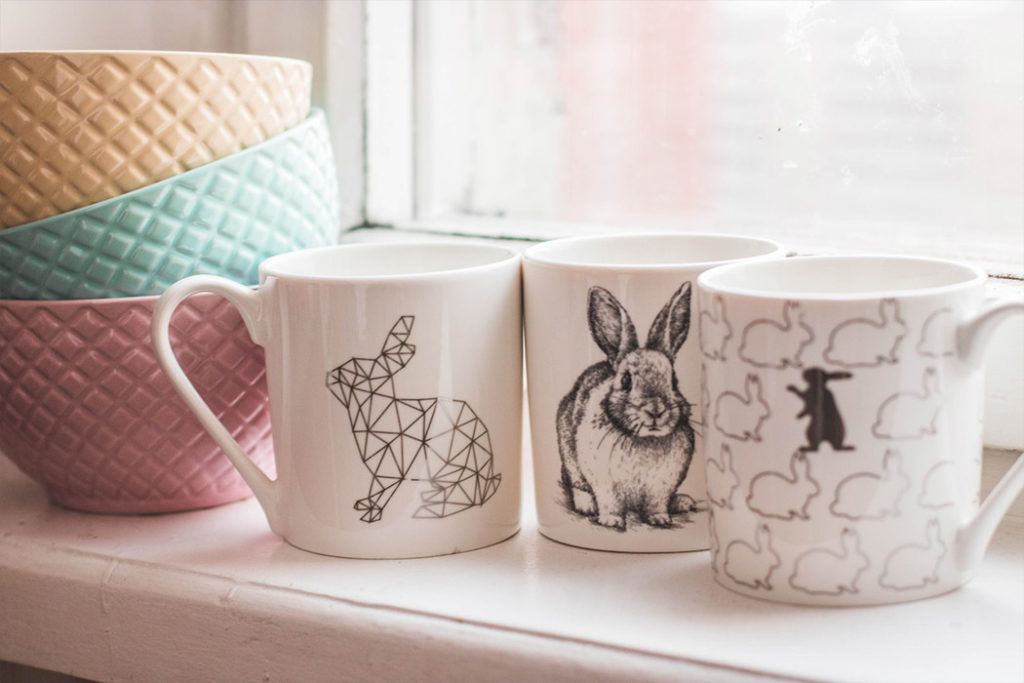
Choose the mugs you will relocate to your new home
Before the relocation and packing take place, it is important to sort out the items you have throughout the house. This applies to mugs as well. Take all the mugs that you have and place them on a dining table, or any other flat surface. Carefully inspect each mug for any dents, scratches, and even stains. If damaged, there is no reason to relocate the mug in question, unless you are emotionally attached to it. Mugs are generally not too expensive, and it will be easy to replace them.
Next, you should gift or donate any mugs you never use, as they will just be taking up much-needed space. Finally, you will be left with intact mugs that you use and love, and those will be the ones to pack for your relocation.
Prepare the right moving supplies
A successful move is a move for which you have obtained the right moving supplies. Your mugs need protection during the relocation and heading over to the improvement store or DIY store is your next step. Here are some of the must-have packing and moving supplies you’ll need to pack mugs for moving.
- Moving boxes – Either use a medium-sized moving box, as mugs are heavy, or get a box with a cell divider, again in medium size.
- Packing peanuts – Cushioning the moving box is an integral part of packing mugs for moving.
- Packing tape – High-quality packing tape will ensure your box does not tear.
- Bubble wrap – Get a roll of bubble wrap to protect your mugs.
- Packing paper – Get a roll of packing paper as well.
- Newspaper – Newspaper can replace packing paper to some extent. It is vital not to cover the mugs with the newspaper as print can leave stains on the mug.
- Permanent marker – Labeling a moving box is an inevitable part of the packing process. Obtain permanent, waterproof, high-quality black marker to label the moving boxes.
Prepare the moving box
Get the packing tape and seal the bottom and the sides of the moving box twice with it. You want to prevent the box from falling apart in case the weight becomes too heavy. Never fill the moving box up to the very top. Next, use packing peanuts or crumpled newspaper to cover the bottom of the box. This will provide a much-needed cushioning, absorb the shock during transport and protect your mugs. If you are using a box with a cell divider, place a piece of crumpled paper or several packing peanuts inside each cell.
Pack the mugs
There are two ways in which you can pack your mugs for moving. The first way is to place several pieces of packing paper onto the table. Then, place the mug standing upright in the center of the paper. Then tuck in ends of the packing paper into the mug. Feel free to crumple newspaper and place a piece of it inside the mug.
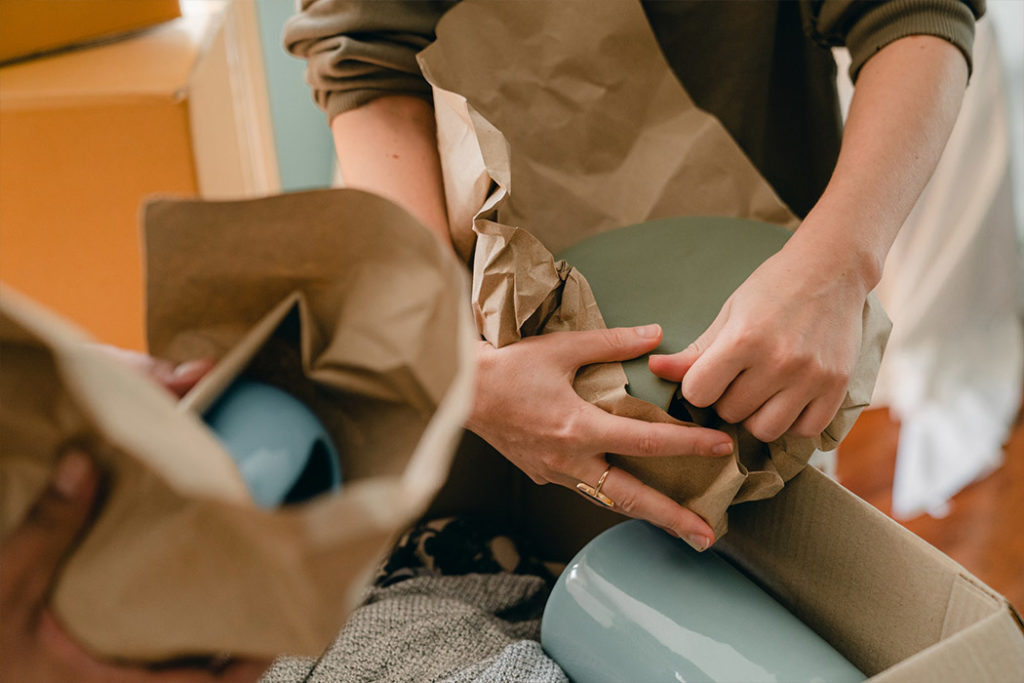
The other way to pack a mug is to fill it with crumpled paper like in a previous way. And then place the mug sideways and roll it over the packing paper being careful about the handle. You can try out both ways and decided which one is easier for you. Mugs are not of regular shape but are fairly easy to pack as they are not too large.
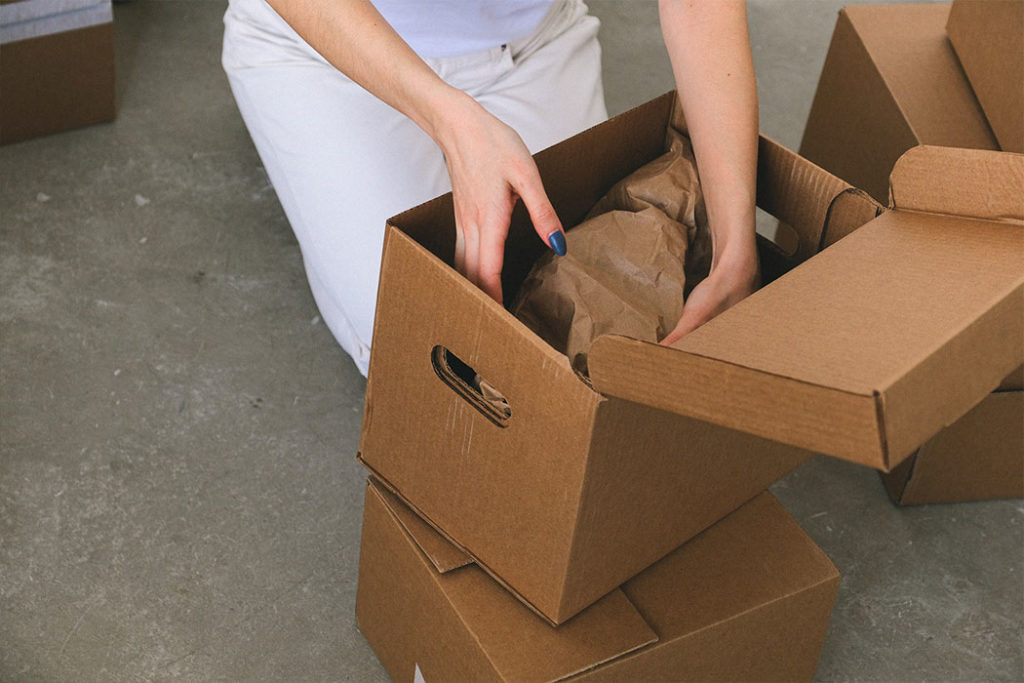
Place the mugs inside the moving box
Once you carefully pack all the mugs, it is time to place them inside the moving box. You have already prepared the moving boxes, so gently place the mugs inside. Make sure that no two mugs are too close. Place the mugs horizontally, and when there is no more space at the bottom, take a piece of bubble wrap, cover the first row of mugs, and start placing mugs above them. This should be done only if there is enough space inside the moving box.
Finish preparing the moving box
When the mugs are inside the moving box, fill out any space there is with the packing peanuts, or crumpled newspaper. Gently shake the box to see if the items inside are moving too much. If not, carefully close the box and double seal it with the packing tape.
Label the moving box
Labeling moving boxes is one of the most crucial stages of packing. Once you have closed and sealed the moving box, perform the shake test yet again. Gently shake the moving box to check if the items are moving, and if they are, it means that they can be damaged easily during transport. Simply add more packing peanuts inside the box to neutralize the shock. Then, label the moving box by writing Mugs on them. Don`t forget to write Fragile on at least three sides of the moving box. This will eliminate the risk of any damage or improper handling of the moving box.
Hire professional movers
We have seen that packing mugs is easy to learn and master. However, if you don`t have enough time on your hands to pack all of your belongings, feel free to hire reliable Brooklyn movers and storage company. They have skills, the expertise, and they work fast. They can also provide professional packing and unpacking moving services, so you wouldn’t have to worry about it. With reliable movers, you can relax as they also offer insurance for your items in case of any loss or damage. Good luck!